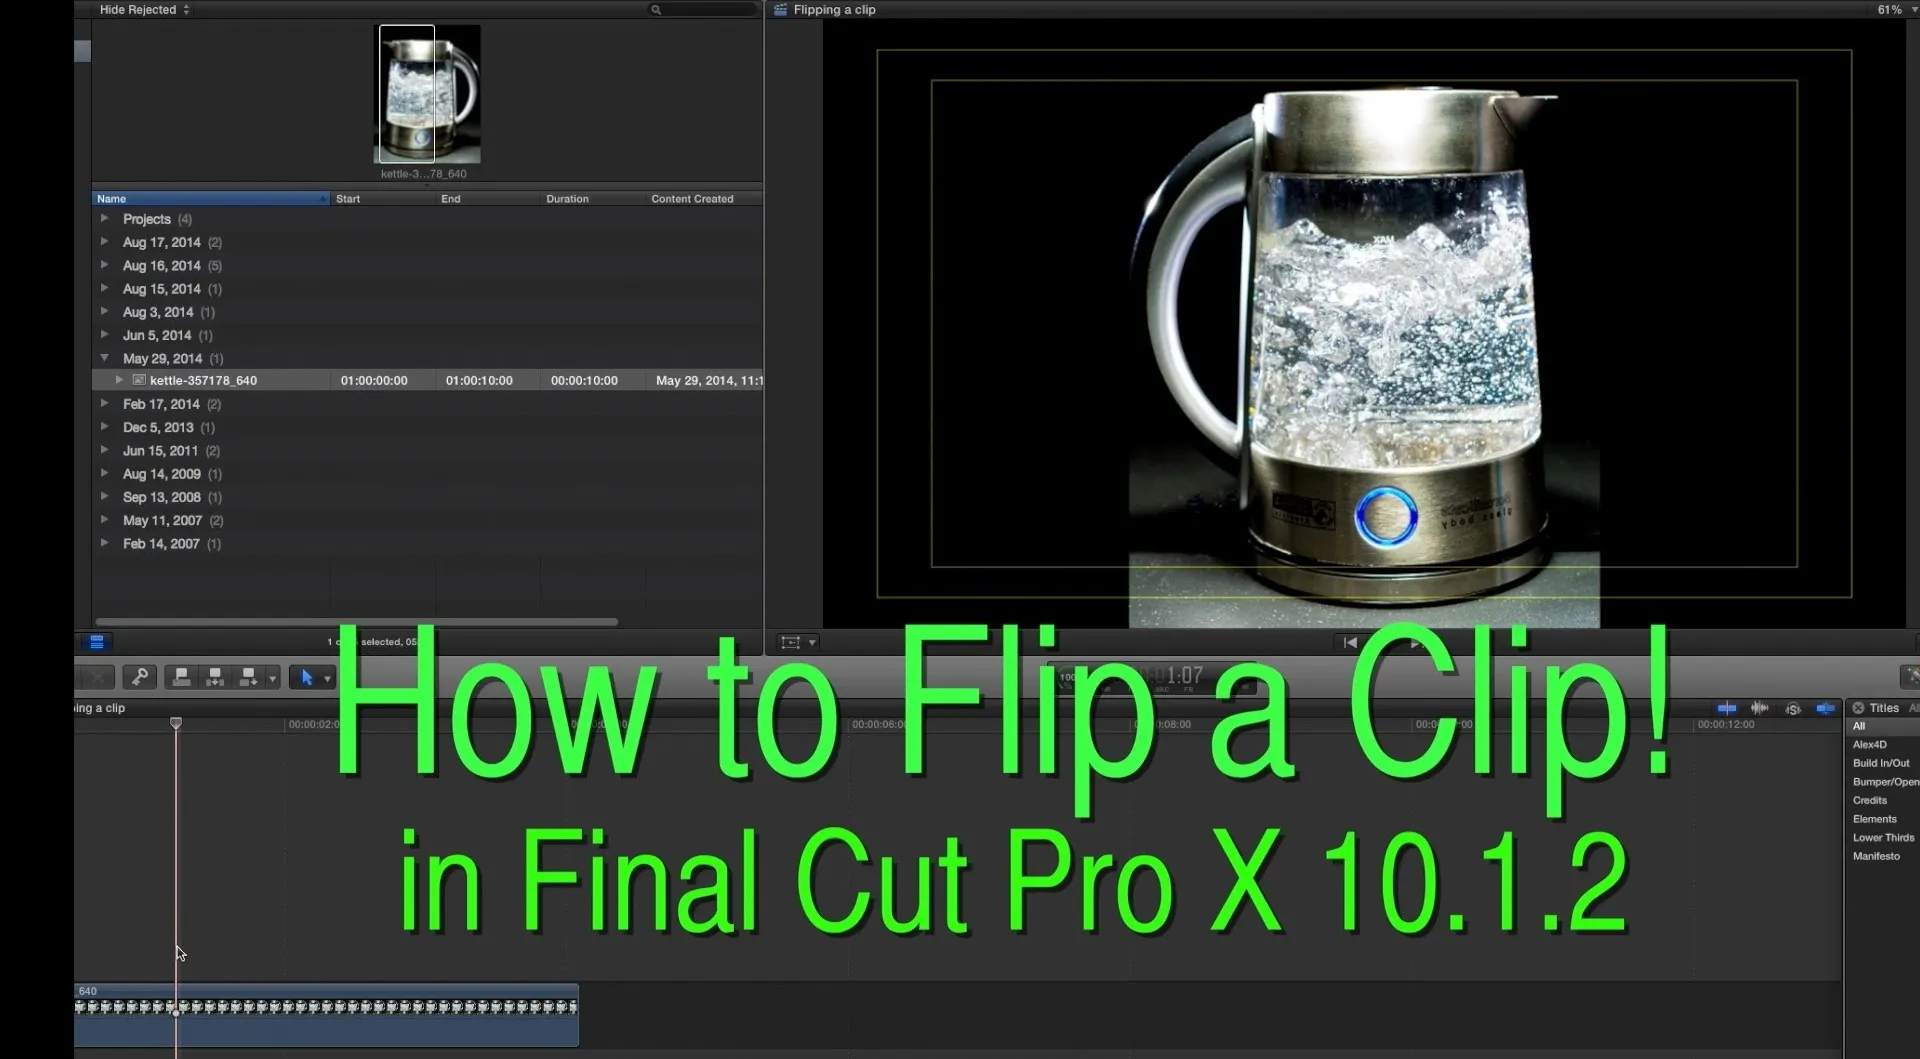
Open your video in Final Cut Pro. Go to Effects>Video Generators>Boris. Then drag the option called Title 3D over your video. Then select Title 3D and go to your controls. Then click on "Title 3D Click for options". Now a new box should be open. Type your text into it. Then, highlight your text and pick the font size, then hit enter. Next, select the font. After that, go to the bottom test menu, and select Drop Shadow. Make the shadow distance 2. For the shadow opacity, turn it up all the way to 100, and turn the shadow softness to zero. Then, right click on Title 3D, and go to Composite Mode>Overlay. Then, go to controls>position and now you can move the watermark where you want it. If you want, you can preset the watermark.


Comments
No Comments Exist
Be the first, drop a comment!