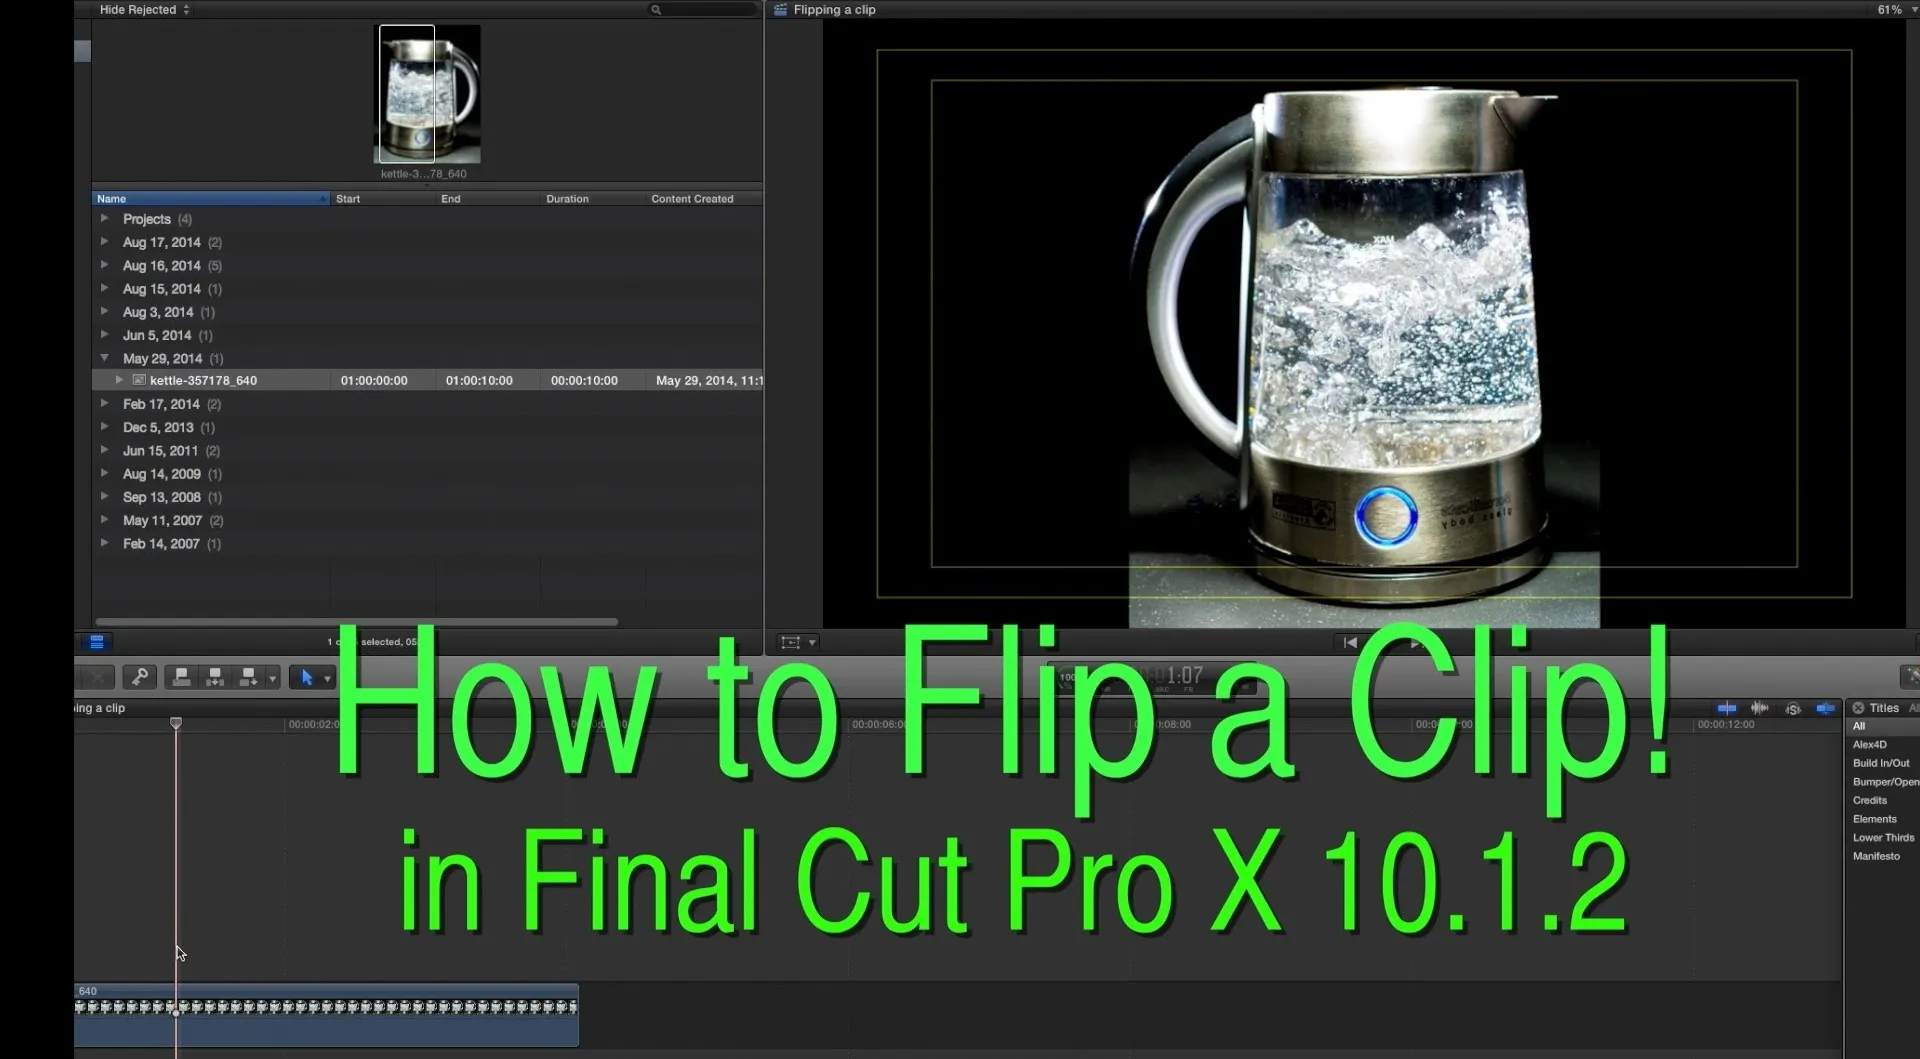
In this how-to video, you will learn how to get 720p quality videos in Final Cut Pro HD. This is useful if you want to take advantage of the higher quality video settings found on YouTube. First, have your film ready. Go to Export and press QuickTime Conversion. Now, name the file. Next, click options and uncheck internet streaming. Go to sound settings and change the format to AAC with a quality of Best. Now, go to the video settings. Change the size to 1280 x 720 HD. Change the frame rate to 25 fps and key frames to 30 frames. Make sure the compressor is set to high with best quality. Now, check the size and filter and select deinterlace. Once this is done, press okay and save the file. Viewing this video will show you how easy it is to save higher quality videos.


Comments
No Comments Exist
Be the first, drop a comment!